
Introduction
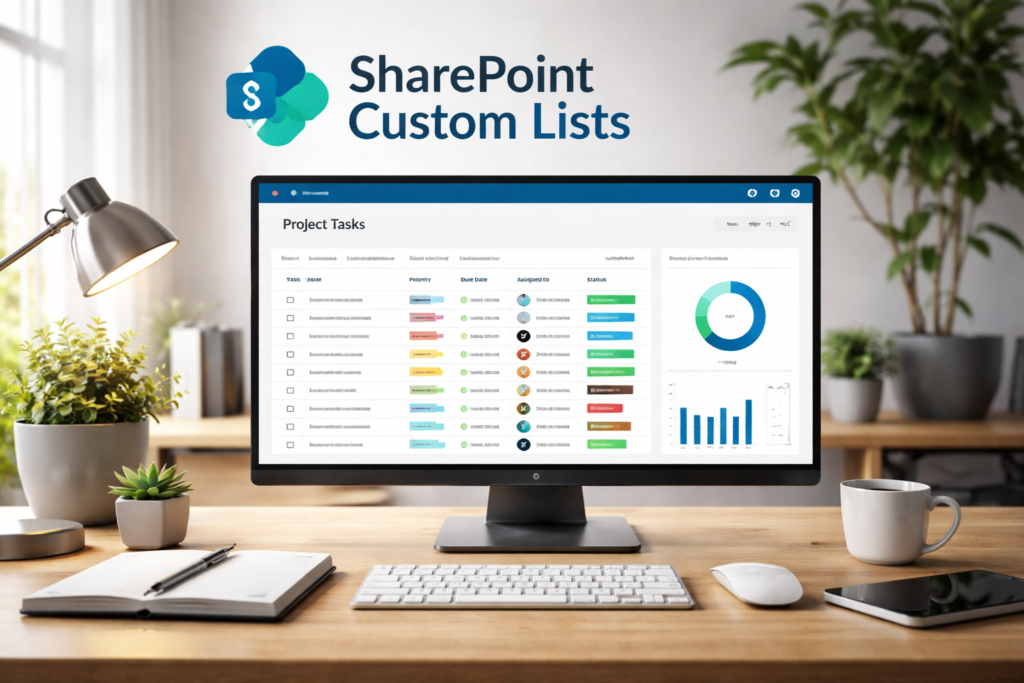
Managing projects without a centralized system leads to missed deadlines and poor visibility. In this tutorial, you’ll build a structured SharePoint custom list to track tasks, owners, deadlines, and status in real time.
What You’ll Learn in This Tutorial
- How to create a custom SharePoint list.
- Designing structured columns.
- Creating views for stakeholders.
- Adding validation rules.
Prerequisites
- Microsoft 365 account.
- SharePoint site access.
- Basic understanding of lists.
Getting Started
Navigate to Site Contents → New → List → Blank List.
Name it “Project Tracker“.
Step 1: Create Core Columns
Add columns: Project Name (Text), Owner (Person), Due Date (Date), Status (Choice).
Step 2: Create Filtered Views
Create views for Active Projects and Completed Projects.
Step 3: Add Conditional Formatting
Use JSON formatting for status highlighting.
Final Output and Testing
Add test records and verify views filter correctly.
Why It Matters
Structured tracking improves accountability and reporting accuracy.